Your guide to long-lasting gas fueled barbecues
-
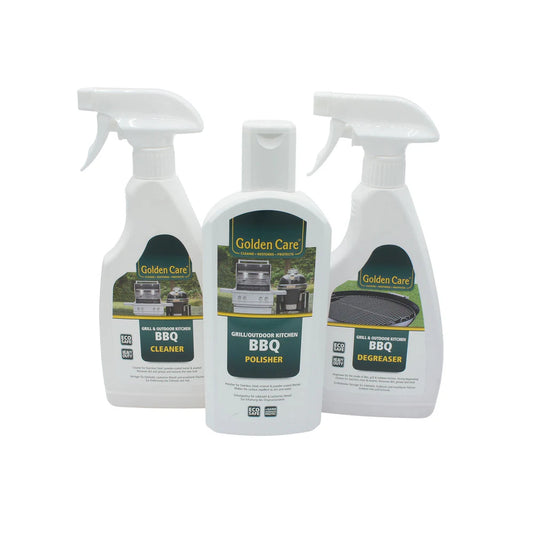
Vendor:Golden Care
BBQ Care Kit Cleaner, Polisher and Protector 3 x 500 ml
Regular price 48,75 €Regular priceUnit price perFast shipping
-
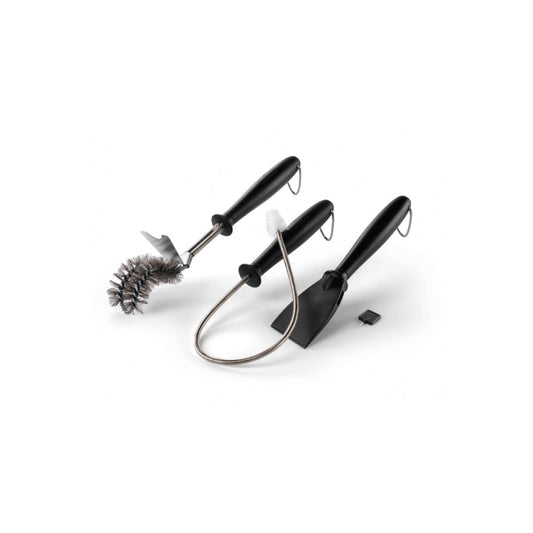
Vendor:Napoleon
Gas Grill Cleaning Tool Set
Regular price 27,95 €Regular priceUnit price perFast shipping
-
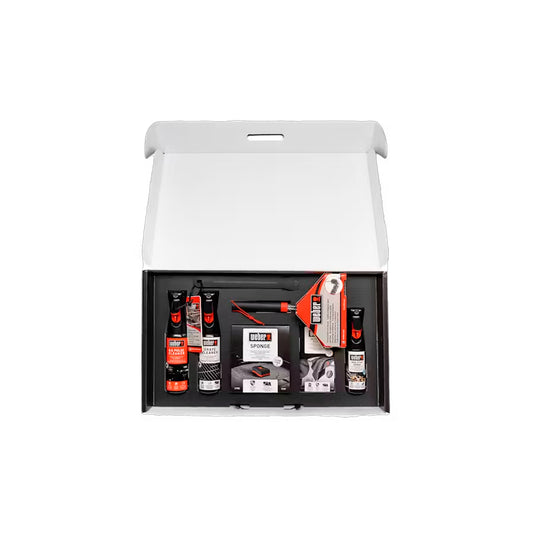
Vendor:Weber
Cleaning Kit for Weber Q & Pulse
Regular price 49,99 €Regular priceUnit price perFast shipping
-
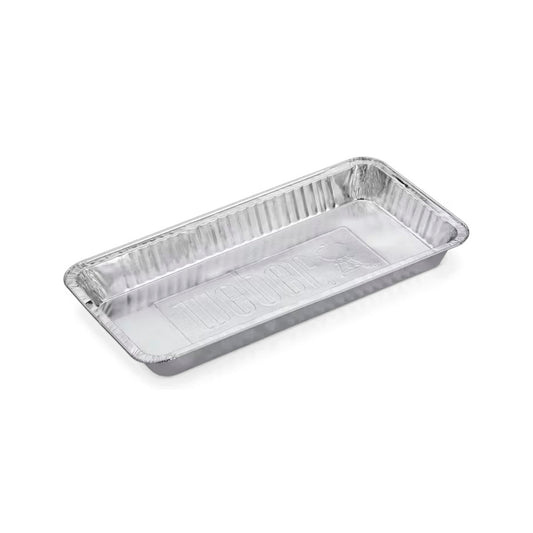
Vendor:Weber
Drip Pans Set
Regular price 9,99 €Regular priceUnit price perFast shipping
-
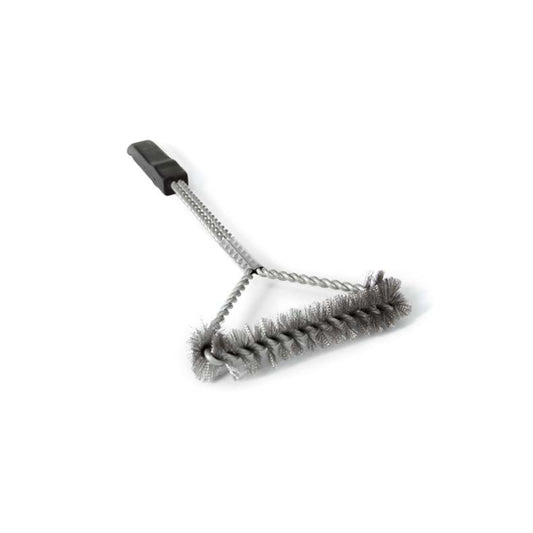
Vendor:Broil King
Extra Wide Grill Brush 48 cm
Regular price 14,95 €Regular priceUnit price perFast shipping


Step-by-Step Cleaning Guide:
Cool down
1. Turn Off and Cool Down
Before cleaning, ensure all burners are turned off and the grill is cool. Disconnect the propane tank or turn off the gas line for safety.
Barbecue lid
2. Brush the Lid
Open the lid and use your grill brush to clean the underside. Carbonized grease and smoke residue can flake off during cooking, so it’s important to remove this buildup regularly.
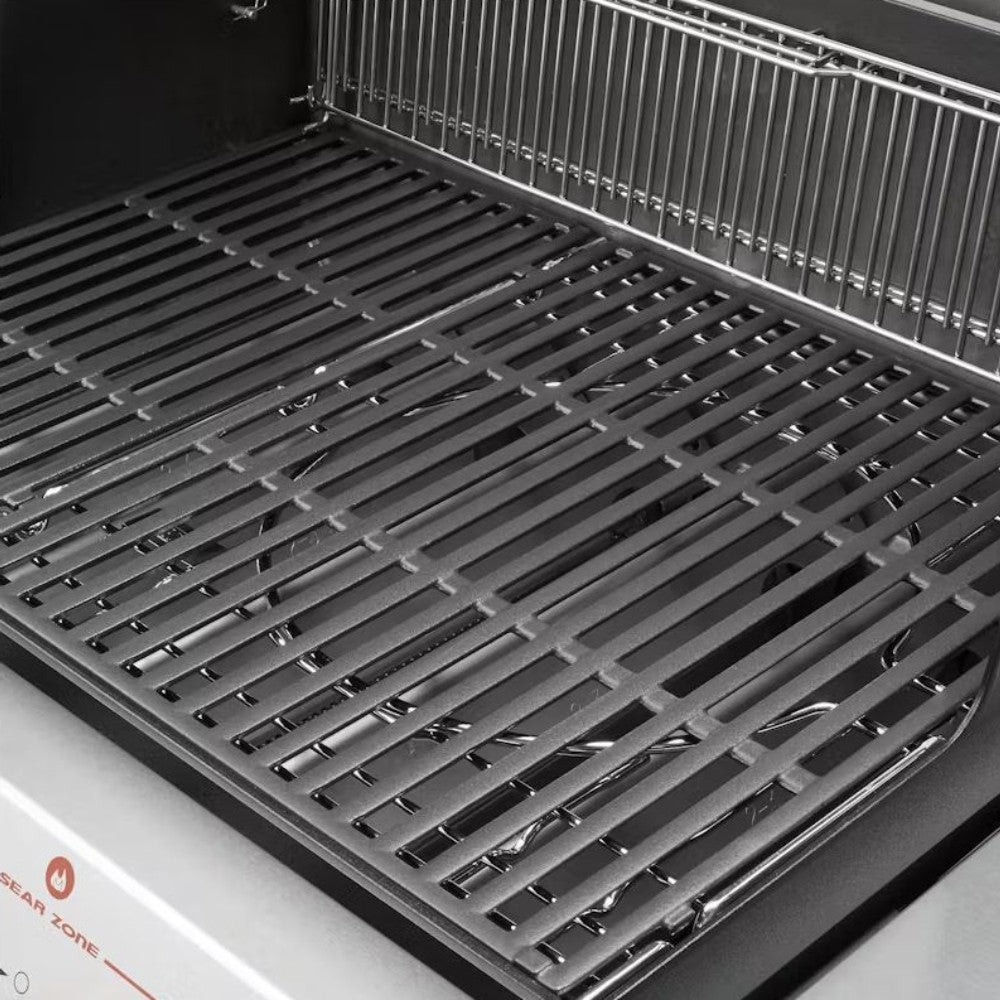
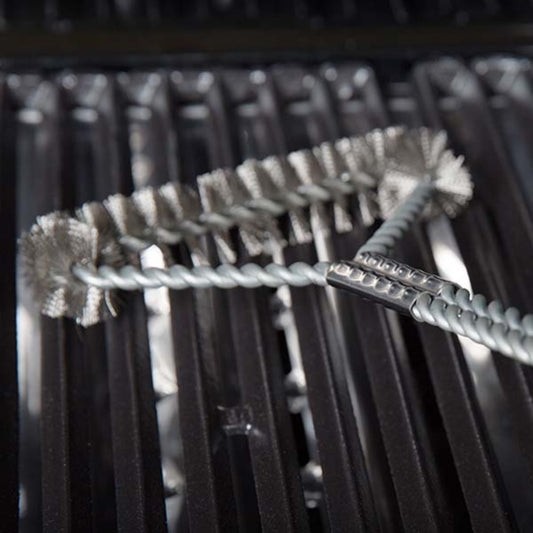
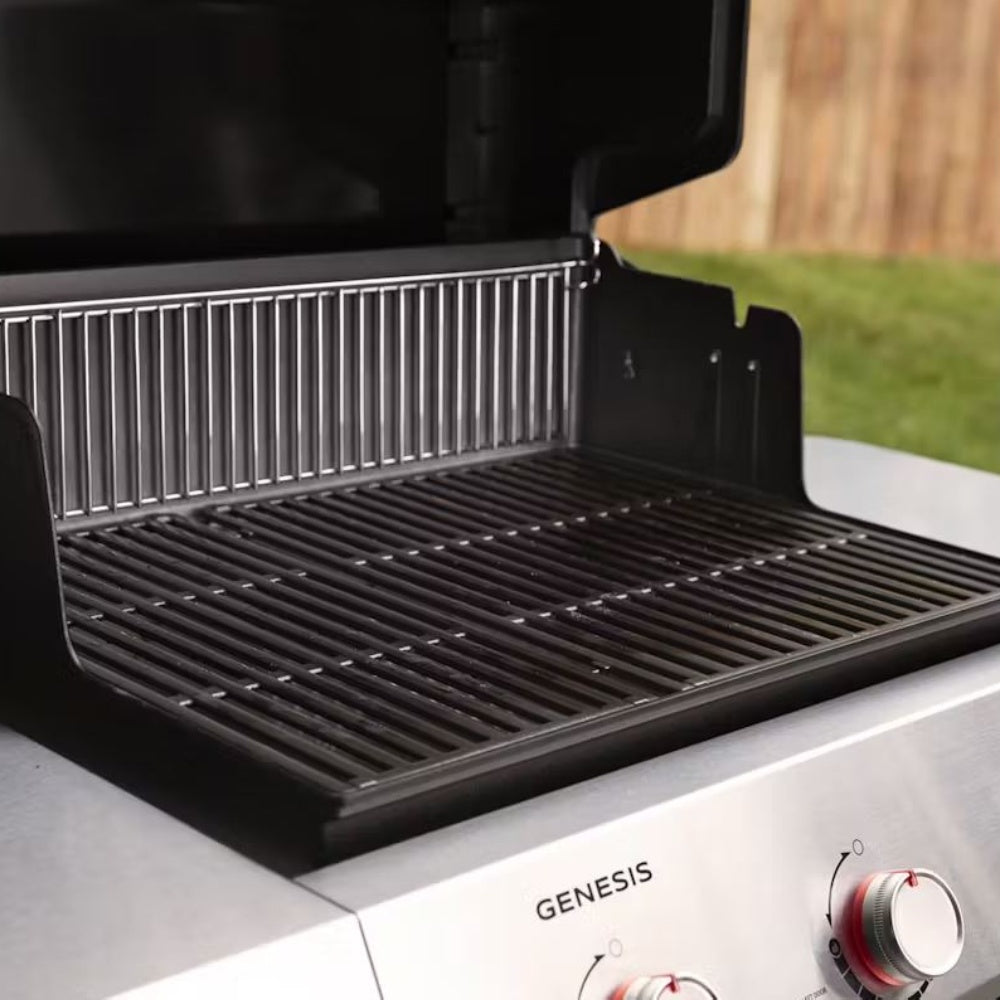
Grates
3. Scrub the Grates
Before or after each grilling session, preheat your grill on high for 10–15 minutes to carbonize any remaining food. Once hot, scrub the grates with a stainless steel grill brush. For a deeper clean, remove the grates and soak them in warm, soapy water, then scrub with a scouring pad or old toothbrush.
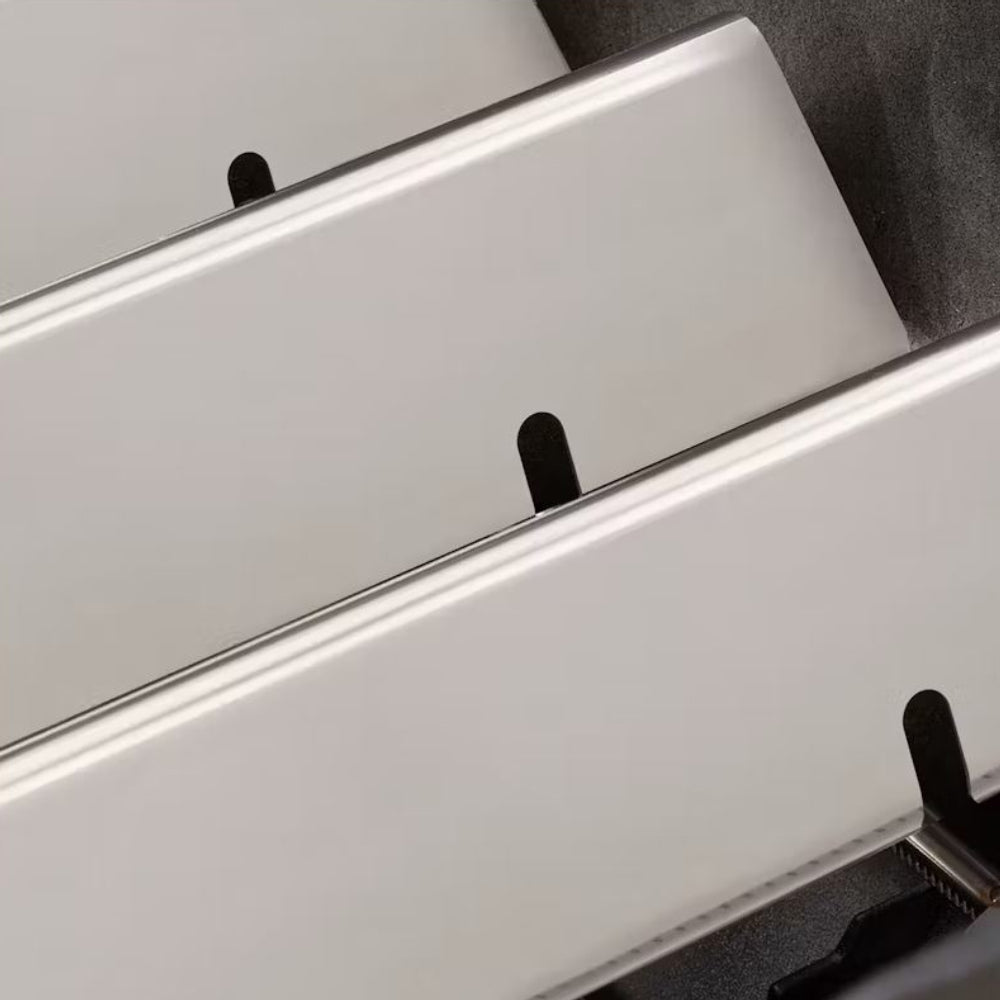
Flavourizer bars
4. Clean the Flavorizer Bars
Remove them and brush off any food particles, grease, or carbon buildup.
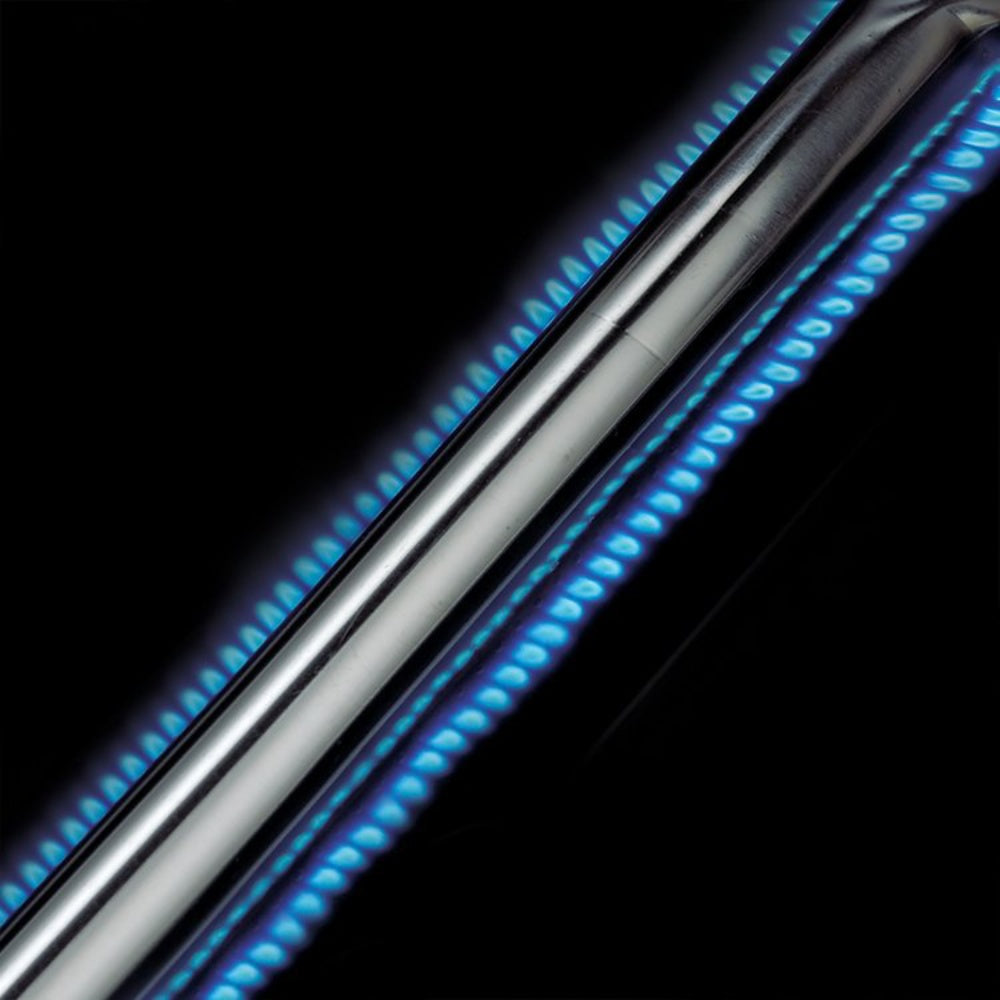
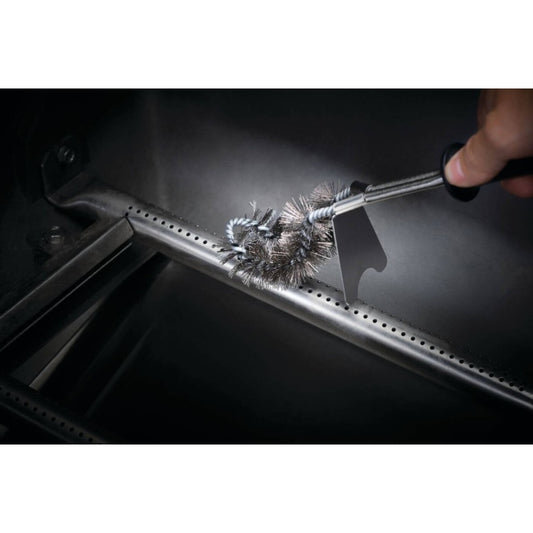
Burner tubes
5. Clean the Burner Tubes
Carefully inspect both the interior and exterior. Use a steel wire brush to remove any dirt or spider webs. Ensure that all the burner ports are clear and unobstructed. Be gentle around the ignition electrode to avoid damaging it.
Cookbox
6. Scrape the Cookbox
Use a plastic putty knife or grill scraper to remove grease and residue from the bottom and sides of the cookbox. Push all debris into the slide-out grease tray.
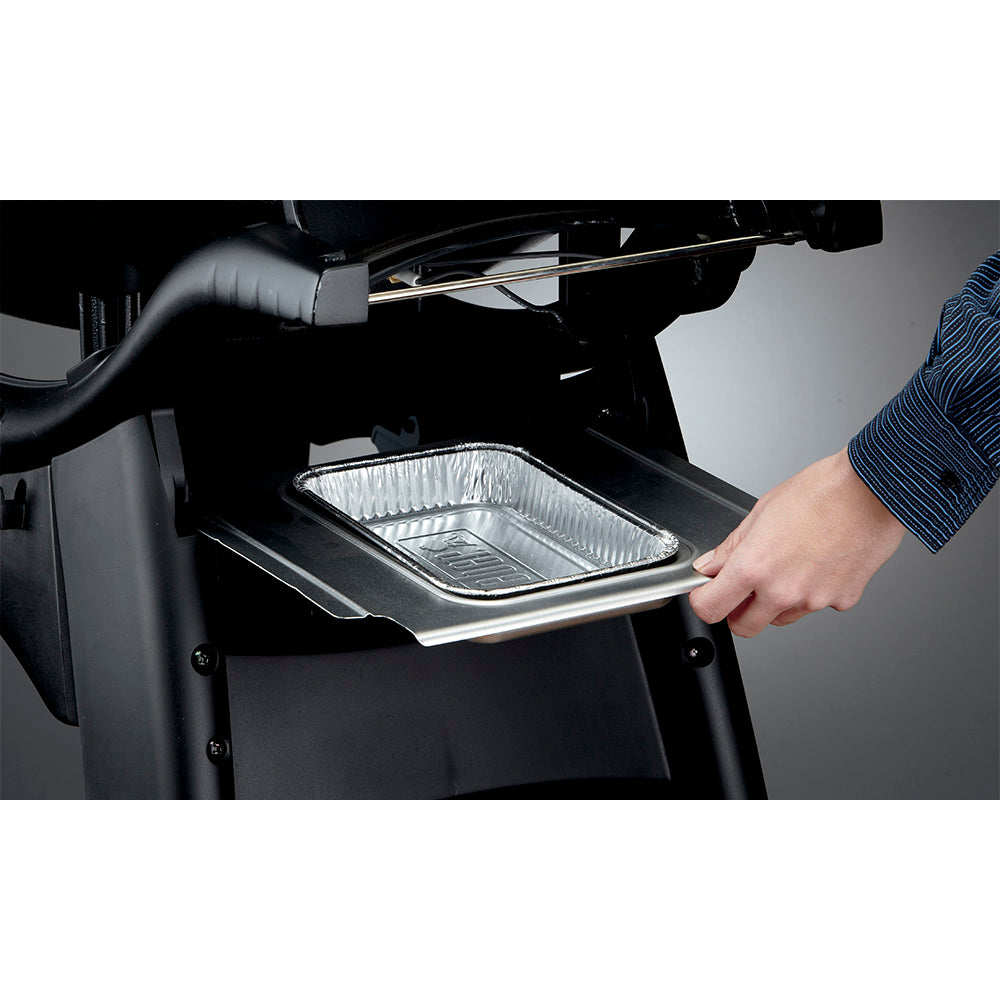
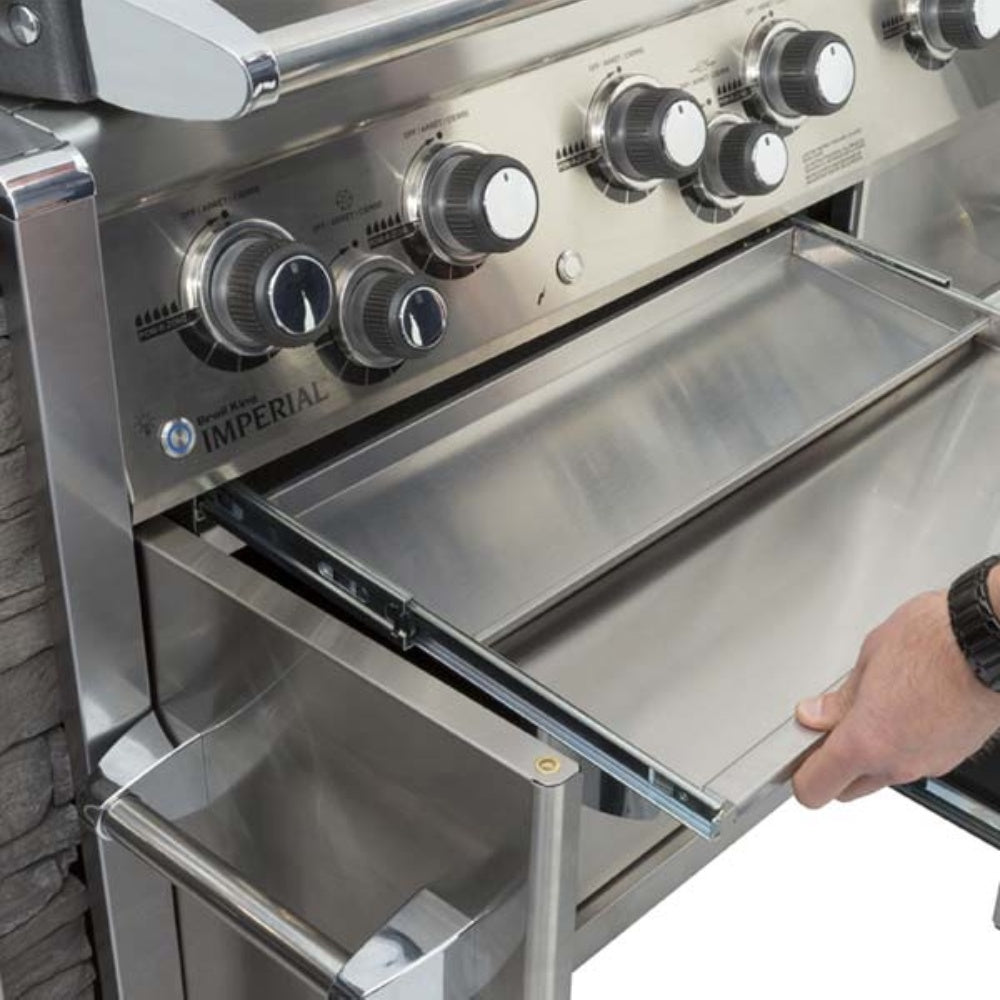
Grease Tray
7. Empty and Wipe the Grease Tray
Pull out the slide-out grease tray and empty its contents into a drip pan. Dispose of used drip pans and replace them with new ones if necessary. Wipe the tray clean with warm, soapy water to prevent buildup and potential grease fires.
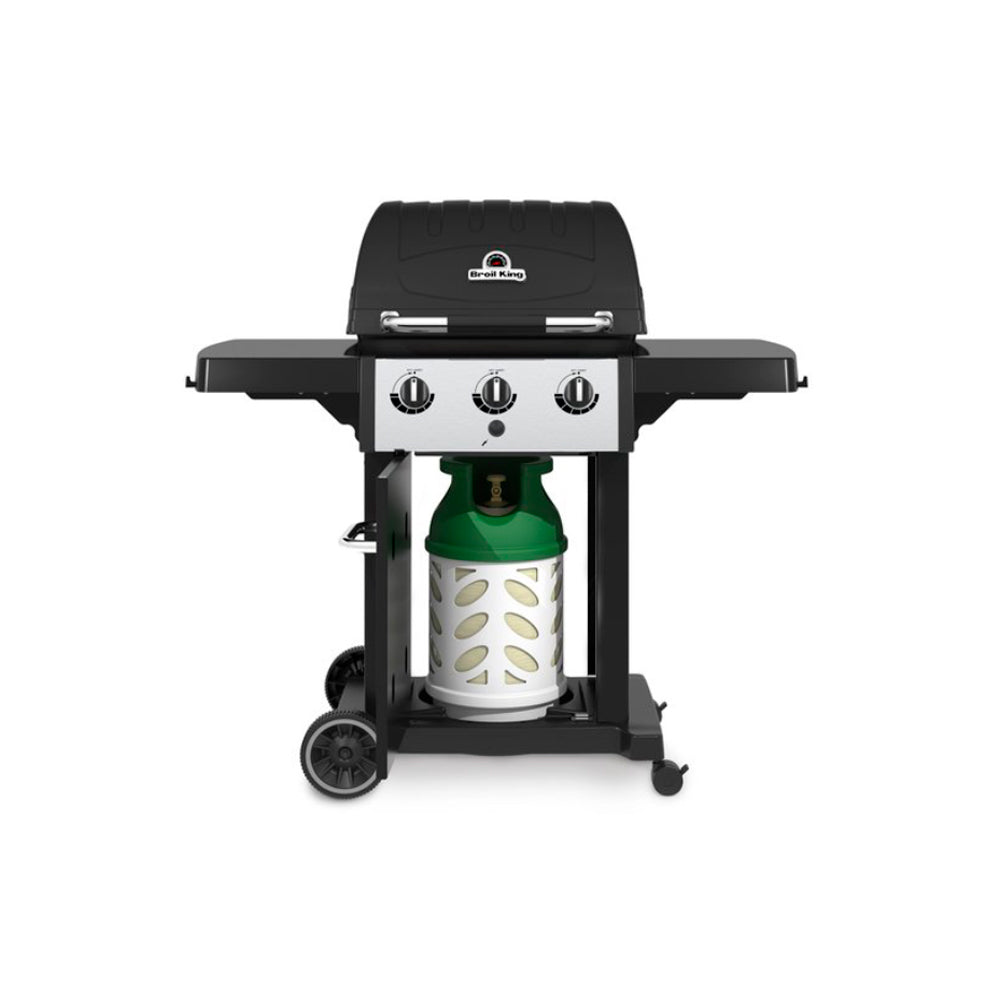
Gas inspection
8. Inspect the Gas Components
1- Ensure all holes are open and clear.
2- Check for webbing or insect nests.
3- Look for any cracks or abrasions. Perform a leak test by applying a soap-and-water solution to hose connections. With the burners off, turn on the gas—bubbling indicates a leak that needs to be addressed immediately.
4- Check ignition systems and replace batteries as needed.
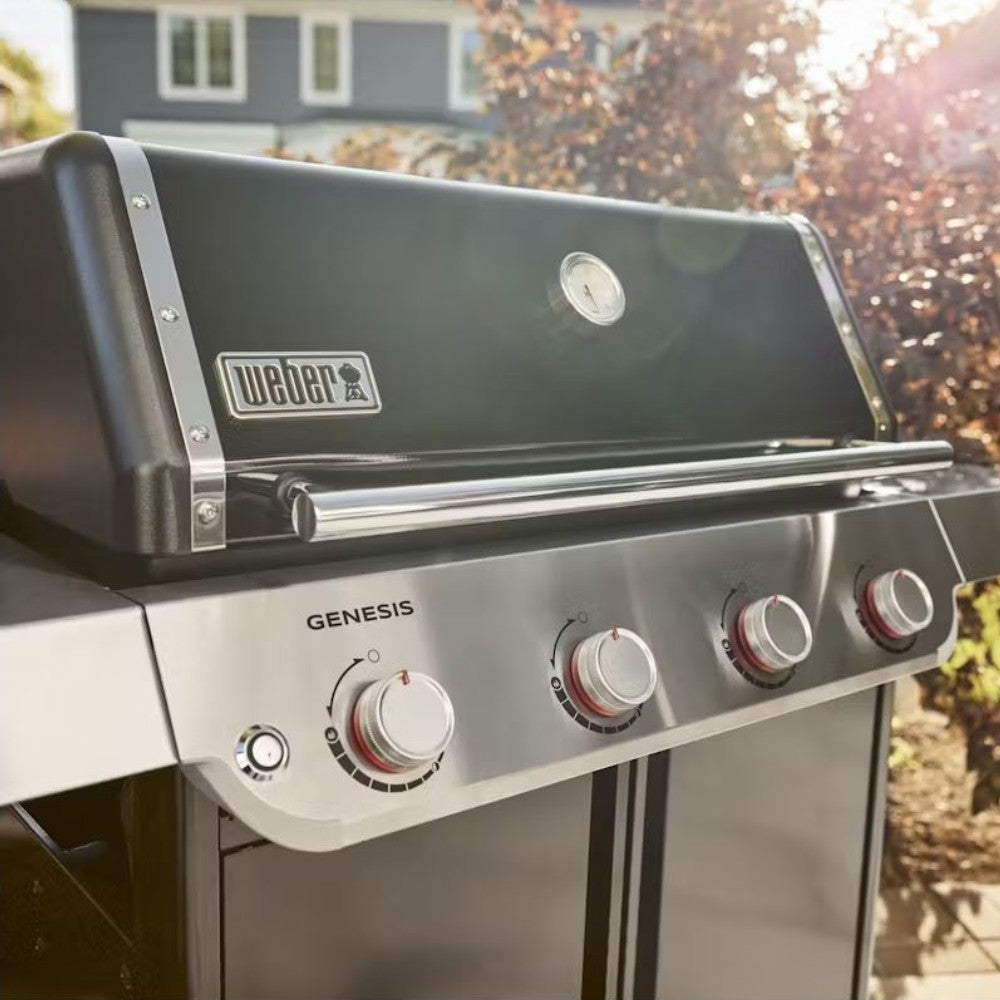
Exterior
8. Wipe Down the Exterior
Use a grill-safe exterior cleaner, stainless steel polish, or a solution of dish soap and warm water to wipe the grill’s exterior, including the lid, side shelves, and control knobs. Dry with a microfiber towel to prevent streaking and rust.
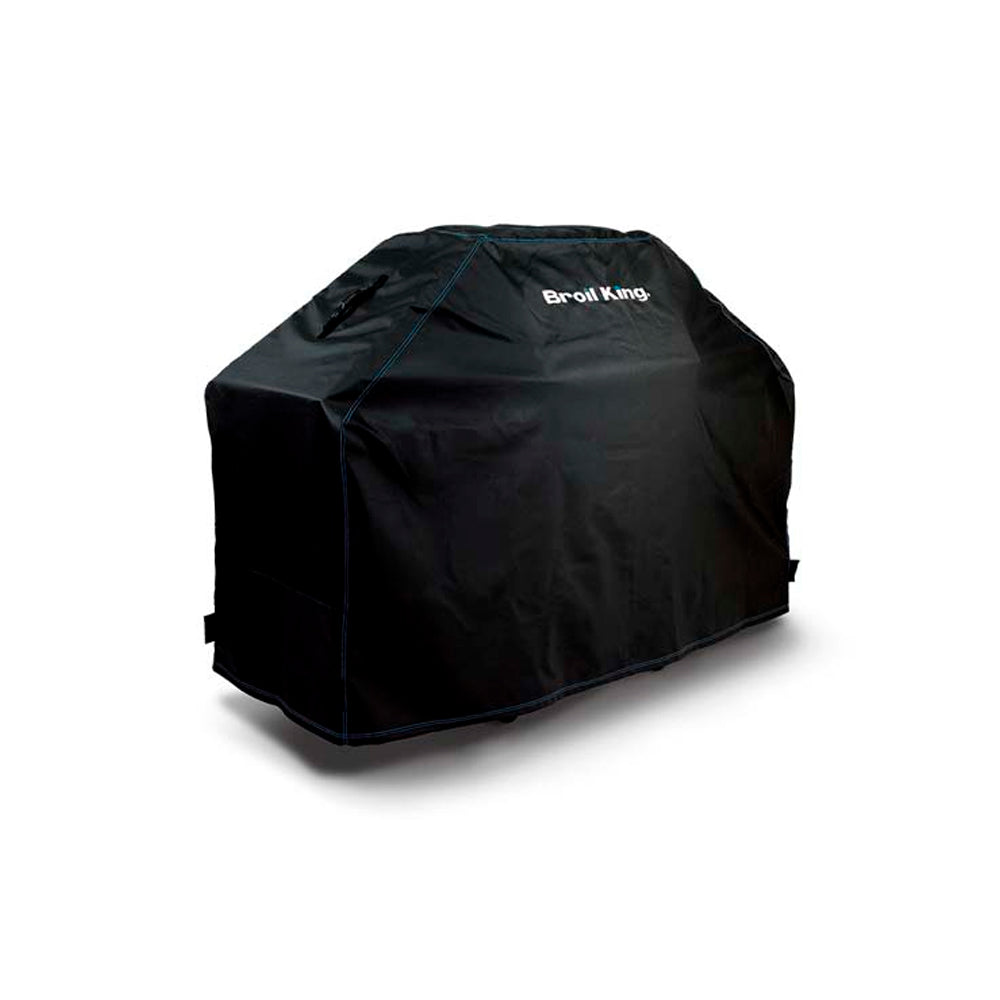
Protection Cover
9. Use a Protective Cover
Protect your grill from rain, snow, or excessive moisture by using a high-quality cover designed for your specific model. This helps prevent rust and extends the life of your grill.
Maintenance Tips
Need further assistence?
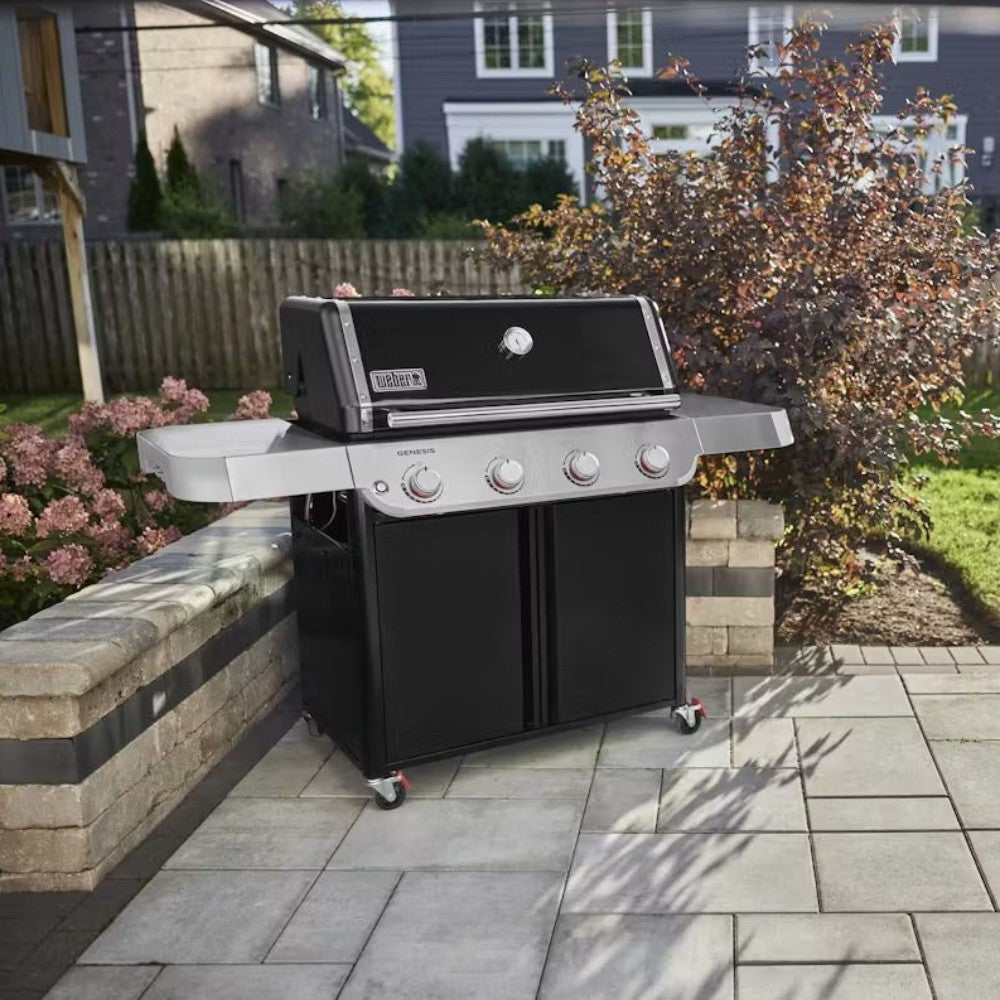
Recomended Gas Barbecues
-
Genesis EP-435 Works Gas Barbecue
Regular price 1.899,00 €Regular priceUnit price perNot available
Not available -
Genesis SP-335W Gas Barbecue
Regular price 1.799,00 €Regular priceUnit price perNot available
Not available -
Genesis E-435W Gas Barbecue
Regular price 1.599,00 €Regular priceUnit price perNot available
Not available -
Genesis E-425W Gas Barbecue
Regular price 1.449,00 €Regular priceUnit price perNot available
Not available


